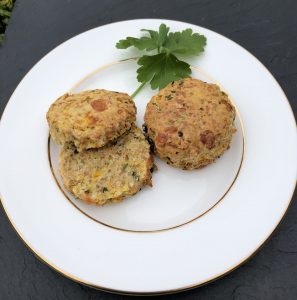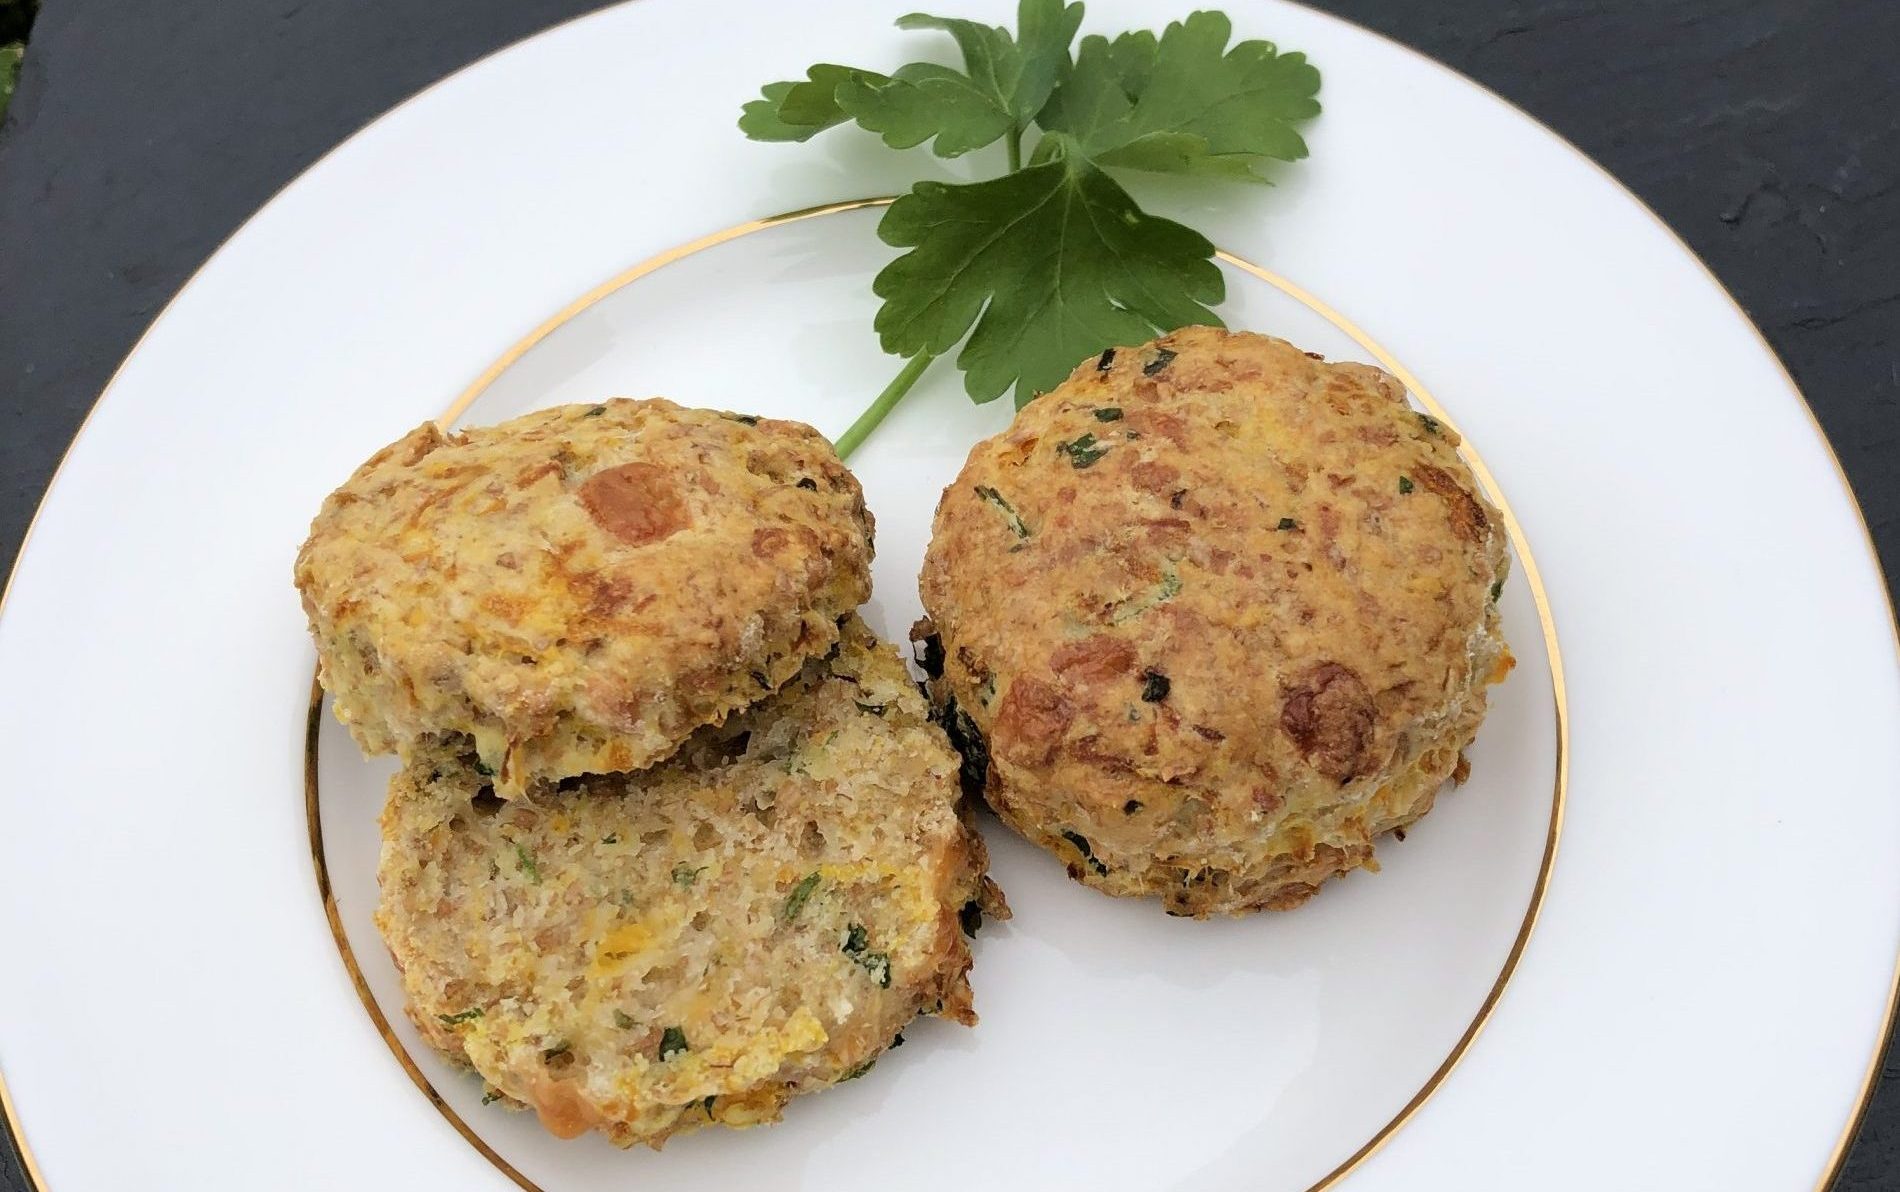
Small but tasty savoury scones with butternut squash and cheese. Easy to bake alternative to traditional scones made with part wholemeal flour to increase the fibre content. They are an ideal addition to an afternoon tea served with a bit of cream cheese.
Serves: 18 – 20
Dietary: Suitable for vegetarian, egg-free, nut-free
Preparation time: 20 minutes
Cooking time: 10 minutes to cook the squash, 20 minutes baking
INGREDIENTS
40 g vegetable-based margarine, very cold, plus extra for greasing
200 g butternut squash, peeled and cut into small pieces (can use frozen)
7 5 g self-raising flour
150 g wholemeal self-raising flour
1 tsp baking powder
60 g cheddar cheese, grated
Small handful chopped fresh parsley
3 – 4 Tbsp semi-skimmed milk, plus extra for brushing
METHOD
- Preheat the oven to 200°C/fan 180°C/Gas Mark 6 and grease or line a baking sheet with margarine or baking paper.
- Put the butternut squash pieces into a saucepan and just cover with water. Bring to the boil and simmer for approx. 10 minutes or until just tender. Alternatively, place in a microwaveable bowl and cook in a microwave on full power for 3½ – 4 minutes until tender. Drain and mash with a fork and allow to cool.
- Sift both the flours and the baking powder into a big bowl, adding any bran remaining in the sieve into the bowl. Add the cold margarine, and using your fingertips, rub the margarine into the flour until it looks like breadcrumbs.
- Mix the mashed butternut squash into the flour mixture using a knife, then add the cheese and herbs and mix thoroughly.
- Add just enough milk to bring the mixture together and make a dough.
- Sprinkle a work surface with a bit of flour and lightly knead the dough for 30 seconds.
- Form the dough into a ball, then lightly pat it with your hands or roll it out to a thickness of approx. 3 cm.
- Dip a round cutter (5 cm diameter) in a bit of flour and cut out the scones.
- Place them on the baking tray, spaced a little apart. Reform the remaining dough and repeat to cut out the remaining scones.
- Brush the tops of the scones with a bit of milk.
- Put the scones in the oven and bake for 20 minutes until risen and golden.
- Cool on a wire rack and serve.
- These will also keep fresh in an airtight container for a couple of days or can be frozen for up to 3 months.
This recipe has been donated by Emily Cleland
NUTRITION INFORMATION
Per serving:
Total calories: 72 kcal
Fat: 3.0 g
Saturated Fat: 1.7 g
Carbohydrate: 9.2 g
Total sugar: 0.7g
Fibre: 0.2 g
Protein: 2.1 g
Salt: 0.2 g
NUTRITION FACTS
- Using wholemeal flour and butternut squash in the scones increases the fibre content. There is strong evidence that eating plenty of fibre is associated with a lower risk of heart disease, stroke, type 2 diabetes and bowel cancer. Foods with fibre also make us feel fuller, while a diet rich in fibre can help digestion and prevent constipation.
- Like other orange-coloured fruits and vegetables, butternut squash is a good source of beta-carotene. Your body converts it to Vitamin A, which has several functions in the body. These include helping the immune system work properly, helping vision in dim light, and keeping skin healthy.
- Butternut squash is also a good source of potassium. Potassium helps control the balance of fluids in the body and helps the heart muscle work properly.
VARIATIONS
- Dairy/lactose-free alternatives can be used in place of the cheese and milk if required.
- Try different vegetables, such as carrot, sweet potato or pumpkin, or other herbs such as coriander.
- Add some chopped chives to cream cheese and serve with the scones.
- Top tip: For perfect scones, kneed 20 times, no more and no less. This will provide sufficient gluten for the structure without it being over or under formed. Too much gluten, and it won’t raise and create a fluffy texture. Likewise, too little, and it won’t rise as it will have insufficient structure.
PHOTOS